“Where flowers bloom, so does hope.”
—Lady Bird Johnson
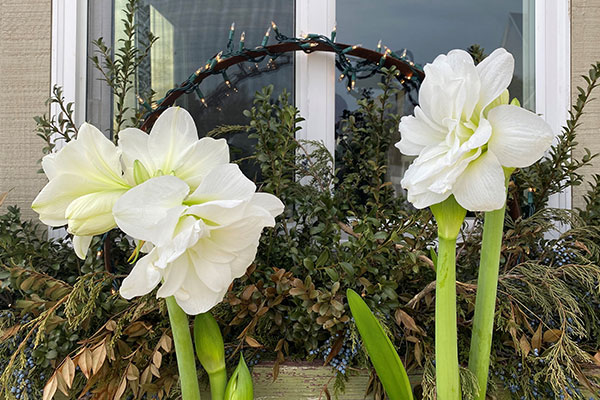
It’s the season of the most magnificent bloom of the year—the amaryllis—and what a welcome bloom it is during the dark days of winter.
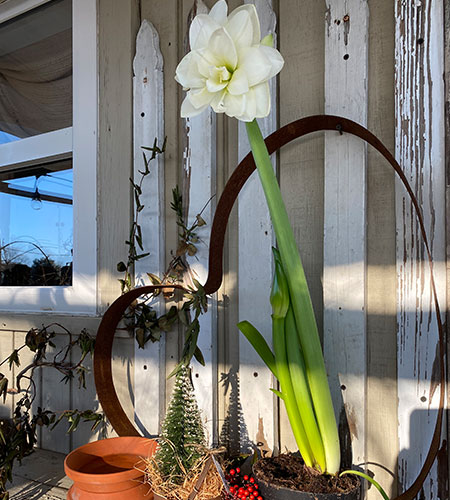
You might not know this, but the vibrant amaryllis is easier to grow than the season’s signature flower, the poinsettia. It thrives indoors with minimal care and offers a spectacular show.
To ensure a successful blooming season, order top-quality amaryllis bulbs from a trusted supplier such as K. van Bourgondien. On arrival, check the bulbs for firmness and dark spots. If your bulbs are soft and have slimy black or brown areas, contact your supplier. These bulbs have likely rotted because of a fungus, and they should be replaced.
For planting your amaryllis bulb, select a pot that is about 2″ wider than the bulb itself and has good drainage. Before planting, remove any dry, dead roots from the bulb. Then soak the white, fleshy roots in water for about an hour.
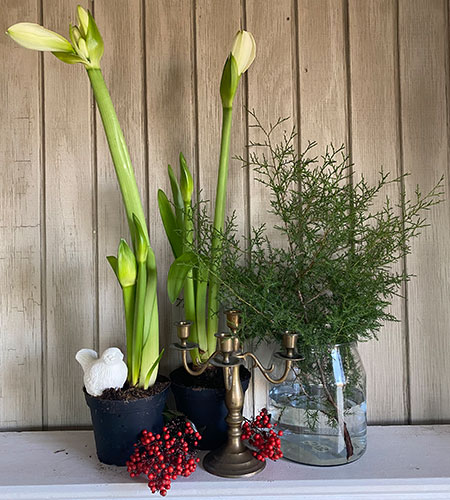
When ready to plant, add a good soil medium to the pot, and plant the bulb so at least one-third of it is above the soil surface. Water thoroughly and place the pot in a warm, sunny location. After that, water sparingly until you notice new growth. Once you start to see new growth, water regularly.
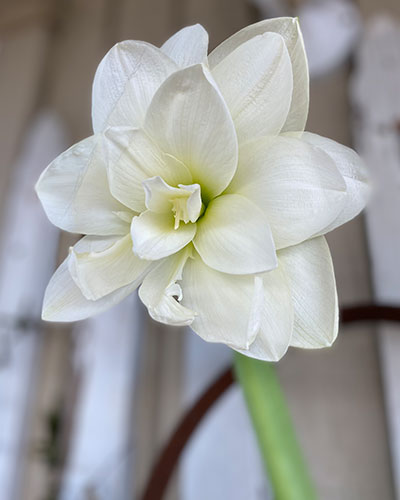
As soon as flowers start to open move your amaryllis to a cooler area (but no cooler than 60°F) and out of direct sunlight. This will help prolong blooming time.
Amaryllis make stunning cut flowers. I often can’t grow enough of them to satisfy my customer base.
Follow these steps to create a cut-flower arrangement with amaryllis blooms:
- Fill a clean vessel with shallow water. (The blooms will stay fresher longer in a partially filled vase.)
- Use a sharp knife to cut the flower stem at a 45-degree angle.
- Quickly turn the flower upside down and pour fresh water into the stem.
- Plug the opening at the base of the stem with a cotton ball.
- Place the flower stem into the vase.
- Repeat Steps 3-5 every 2-3 days for a longer vase life.
These steps are well worth the effort because they promise a fresh floral piece for your customers and enjoyment in your own home.
May your home be filled with beautiful blooms throughout the coming winter months!
Happy Gardening!
Pamela Anthony
Beehind Thyme Farm & Garden