Gardens require time and effort. As Rudyard Kipling wrote in a poem, “gardens are not made by singing ‘Oh, how beautiful,’ and sitting in the shade….” They are a labor of love—and a passion that stems directly from the heart. I think I speak for most flower farmers when I say gardening starts with passion.
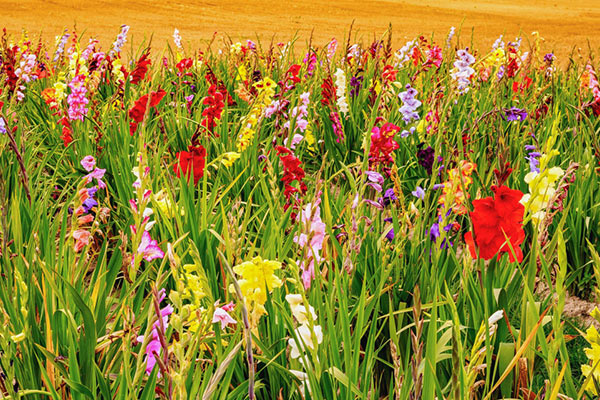
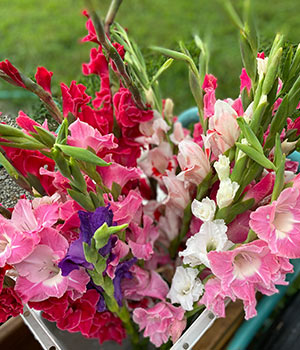
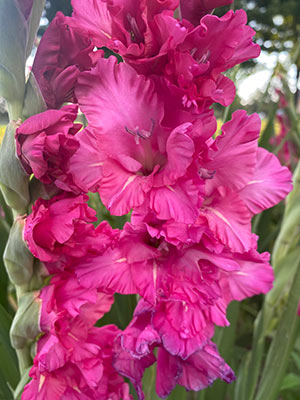
This week, I want to talk about gladiolus, an old-fashioned garden bloomer that recalls the days of yesteryear. It’s one I can remember my precious momma growing along the back of her gardens. Still today I can visualize her carefully staking them, weaving twine back and forth through the thick, tall stalks. I’m sure you, too, can remember the glorious gladioli of gardens long ago, whether grown by your mother, grandmother or neighbor.
Let me share a few tips on planting glads in the garden or field.
Glads can be planted about two weeks before the last expected spring frost—the date will vary depending on your garden zone. Here in garden zone 6, I typically plant an initial set of corms the first week of May. Then, two weeks later, I plant another set. Staggered planting allows for a continual harvest of glads for the fresh bouquets I offer here at the farm.
It’s not too late to plant now if good quality corms are available—and they might not be. That’s why it’s always important to plan ahead. To ensure you have beautiful gladiolus blooms throughout the summer, you need to order corms early so they arrive at the appropriate time for planting.
Now let’s talk about planting those gladiolus corms. How you plant depends on your available space, time and energy. Because of the volume of corms I plant, I use a trench style, planting corms in rows all at the same time.
Planting depth is critical and can determine the quality of the stalks available for cutting come harvest time. It’s best to plant the corms 4″ deep and 4-6″ apart although you can always come back later and hill up the soil around the base of the emerging plants. This will help support the stems as they grow in height and increase in top weight. However, wait until the stems are at least 6″ tall before doing this.
Another step crucial to growing glads and ensuring straight stalks is staking. I prefer to stake by creating a grid of twine attached to wooden or metal stakes placed in the middle and at each end of my gladiolus flower bed. Having the twine grid in place makes my work easier as the growing season progresses.
Staking takes extra time and energy, but it will help prepare you for a profitable gladiolus season and should minimize the stress you might experience as flower farmer.
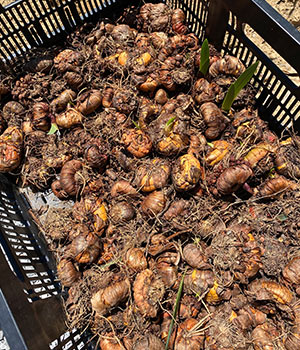
At the end of the gladiolus season, you might need to lift the corms. If you farm in garden zone 7 or above, it should be fine to leave them in the ground. Because I grow in garden zone 6, I must lift them each fall. As I lift the corms, I examine them carefully, clean them and place them in dry storage just as I would do with dahlia tubers.
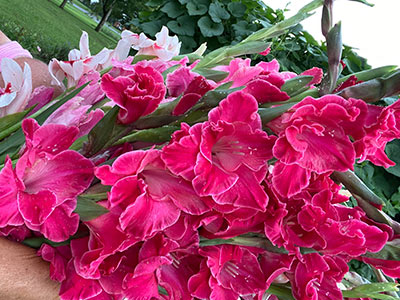
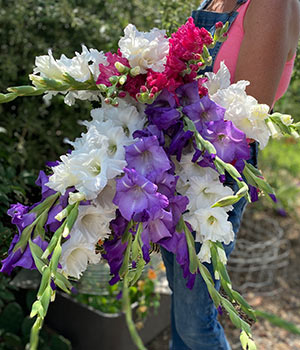
I hope my tips—and the images of these beautiful glads—will give you the encouragement you need to add them to your garden or flower farm.
Happy Gardening!
Pamela Anthony
Beehind Thyme Farm & Garden